
Attic Ventilation: The Hidden Key to a Long-Lasting Roof
Understand why attic airflow matters, how to spot problems, and what to do next for a healthier roof in Brampton, ON.
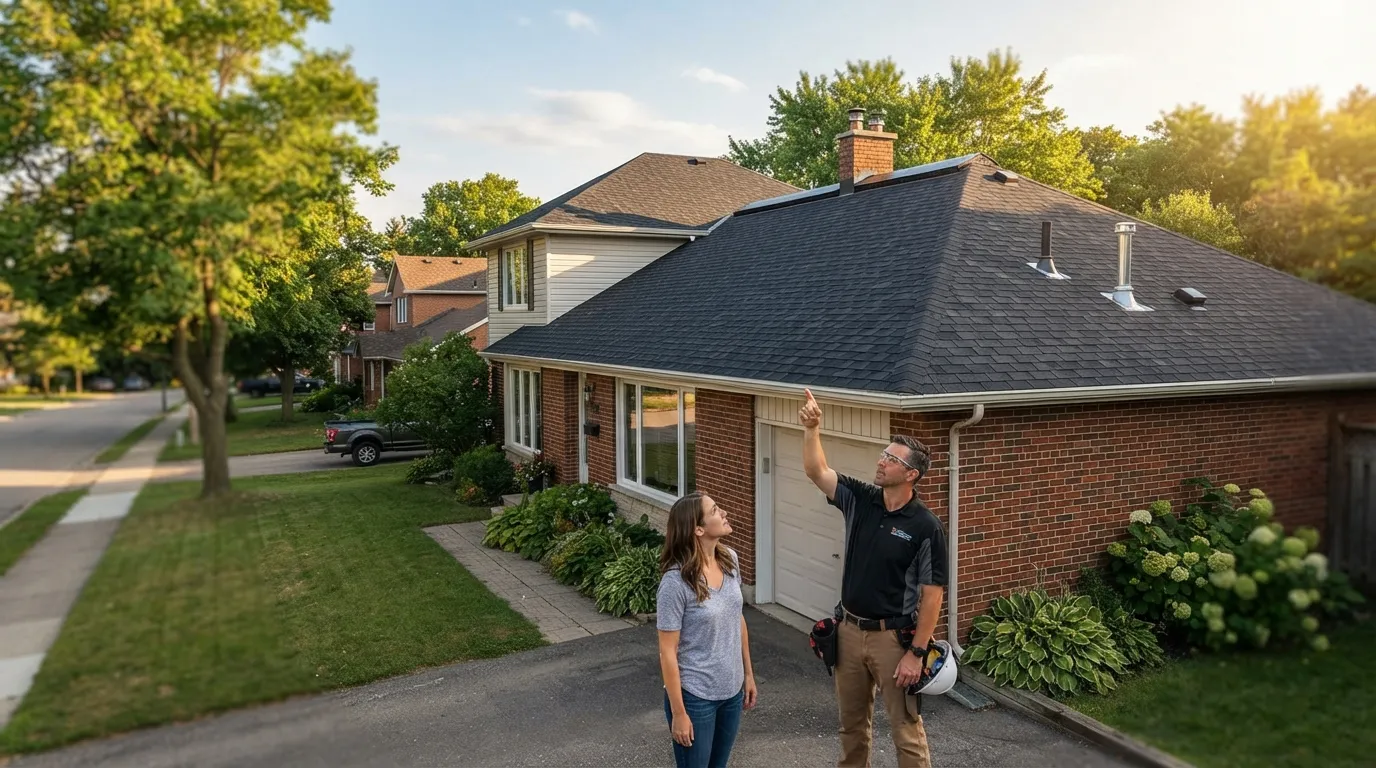
What is attic ventilation and why does it matter for my roof?
Attic ventilation is the combination of intake and exhaust airflow through the attic space that controls temperature and moisture; proper ventilation prevents ice dams, protects shingles and sheathing, and reduces condensation and mold risks.
Intake vs. Exhaust
Intake vents (soffits, eave vents) bring cool outdoor air into the attic, while exhaust vents (ridge vents, gable vents, roof-mounted turbines) let warm, moist air escape. Balanced intake and exhaust create a steady flow that keeps attic temperature close to outdoor temperature in winter and expels humid air in summer.
Why it protects roof materials
When warm attic air melts snow on the roof and that water refreezes at the eaves, ice dams form and force water under shingles. Proper ventilation keeps roof deck cold and reduces melt-freeze cycles, lengthening shingle life and protecting sheathing from rot.
Moisture control and indoor air quality
Household activities (cooking, showers, laundry) and poorly sealed ductwork can introduce moist air into the attic. Without ventilation and air-sealing, that moisture condenses on cold surfaces, feeding mold and reducing insulation effectiveness.
Step-by-Step: Attic Ventilation: The Hidden Key to a Long-Lasting Roof
A practical sequence to inspect, diagnose, and correct attic ventilation problems. Use this as a homeowner checklist before calling a contractor or filing an insurance claim (verify local rules).
- 1
1. Visual attic inspection
Open the attic on a dry day and look for signs: daylight at the roofline, wet or discolored sheathing, mold, ice-dam staining, and compressed or wet insulation. Note where vents exist and whether soffit baffles are present so intake paths aren’t blocked.
- 2
2. Measure ventilation and insulation
Check the net free area (NFA) of existing vents if labels are available, and compare to recommended ratios: industry practice suggests roughly 1:300 to 1:150 (vent area to attic floor area) depending on whether a vapor barrier exists—verify with a pro. Also confirm insulation depth and condition; ventilation can’t compensate for inadequate insulation.
- 3
3. Air-seal attic penetrations
Before adding vents, seal common air leaks: top plates, recessed lights (non-IC rated), duct boots, and plumbing stacks using caulk, foam, or gaskets. Stopping air leakage reduces moisture transport into the attic and improves HVAC efficiency.
- 4
4. Create balanced intake and exhaust
Ensure soffit or eave vents provide intake and that ridge or roof vents serve as exhaust; avoid relying solely on gable vents which can short-circuit flow. If existing intakes are blocked by insulation, install baffles to maintain an air channel from soffit to ridge.
- 5
5. Upgrade or add vents and accessories
Choose vent types that suit your roof: continuous ridge vents for long ridgelines, box vents for shorter runs, and properly sized soffit vents for intake. In some cases a powered attic fan or turbine may help, but only after air-sealing and ensuring adequate intake to prevent negative pressure drawing conditioned air from living spaces.
- 6
6. Final check and seasonal monitoring
After work is complete, re-check attic at first heavy snow and again in spring for signs of continued issues. Keep photographic documentation and notes on vent types and locations — useful for warranty, resale, or insurance conversations (confirm insurer expectations locally in Brampton).
Mistakes to Avoid
Poorly chosen fixes and shortcuts can make attic ventilation worse. Avoid reactive changes and prioritize air-sealing, balanced airflow, and matched components for lasting results.
Installing vents without air sealing
Adding vents while leaving attic air leaks untouched can increase energy losses and bring more humid indoor air into the attic. Seal penetrations first; ventilation is the backup for humidity that still gets past tight construction, not the primary defense against interior air leakage.
Relying only on gable vents
Gable vents can exchange air sideways and often don’t create the steady vertical flow needed to cool the roof deck. Use gable vents only as part of a larger plan that includes soffit intake and ridge or other continuous exhaust for true cross-section ventilation.
Blocking soffit intake with insulation
Loose-fill or batts installed up to the eave without baffles will block intake air, causing the attic to stagnate. Install vent baffles or rafter vents to maintain a clear air path from soffit up to the exhaust point.
Adding powered fans before fixing the basics
Attic fans can create negative pressure that pulls conditioned house air into the attic through leaks, increasing energy costs and moisture problems. Only consider mechanical fans after air sealing, correct intake sizing, and when their specific benefit is clear for your roof geometry.
What Affects Your Outcome
Several local and technical factors change how well ventilation solutions work.
Climate and seasonal extremes
Brampton and Peel Region experience cold winters with freeze-thaw cycles and humid summers; both drive different ventilation needs. Winter performance focuses on preventing ice dams, while summer benefits include reducing attic heat gain.
Existing roof geometry and materials
Low-slope roofs, cathedral ceilings, and complex hips or valleys alter airflow patterns and vent placement. Shingle type and underlayment choices also influence how quickly the roof deck responds to attic air temperature.
Quality of attic air-sealing
Homes with many top-floor exhausts, unsealed soffits, or old ductwork leak more humid air into the attic and need more aggressive sealing before ventilation upgrades.
Insulation type and condition
Spray foam, blown-in cellulose, and batts behave differently around vents; compressed or wet insulation reduces R-value and may require removal and replacement for proper vent function.
Local building codes and permit rules
Ontario and Brampton permit offices may treat structural roof changes differently from minor ventilation work; always verify with the City of Brampton building services and your homeowner’s policy before starting—rules vary by jurisdiction.
Contractor experience and trade specifics
A roofer experienced in local cold-climate solutions will size vents, install baffles correctly, and recommend compatible underlayment—poor workmanship creates recurring problems. Check references and local examples before hiring.
Frequently Asked Questions
How much attic ventilation do I need?
A common guideline is to provide 1 square foot of net free vent area per 300 square feet of attic floor (1:300) if you have a vapor retarder; otherwise a 1:150 ratio may be recommended. These are industry starting points—your roof shape, insulation, and local climate in Brampton can change the target, so have a pro measure your specific attic.
Will improving ventilation stop ice dams?
Proper ventilation reduces the roof deck temperature and helps prevent the melt-refreeze cycle that causes ice dams, but it’s not a guaranteed fix. Combine ventilation with adequate insulation and air-sealing at ceiling penetrations for the best protection against ice dams in cold months.
Are attic fans a good idea for my home?
Powered attic fans can help in some hot attic situations, but they can also create negative pressure that pulls conditioned air through gaps in the ceiling if the attic isn’t well sealed. Consider fans only after sealing and ensuring balanced intake; a local roofer can assess whether your Brampton home will truly benefit.
Do I need a permit to add vents in Brampton?
Minor roof vent installations are often considered maintenance, but replacing structural elements or altering roofing may trigger permit requirements. Contact the City of Brampton building services to confirm; local building departments and insurers have different expectations, so verify before you start.
How can I tell if my attic insulation is causing ventilation issues?
Look for insulation piled against the soffit without baffles, compressed or wet areas, and inconsistent depth across the attic. These signs indicate restricted intake or degraded insulation performance—correcting them often involves adding baffles, topping up insulation, or replacing damaged material.
Can ventilation fixes be covered by insurance after damage?
Insurance coverage depends on the cause (sudden storm damage vs. wear and maintenance) and your specific policy. In Ontario, insurers will evaluate cause and documented damage; keep records and coordinate with your adjuster, but always verify coverage details with your insurer and consult local code officials if structural changes are proposed.
Free attic ventilation inspection for Brampton homeowners
Schedule a no‑obligation check of vents, baffles, insulation and air‑sealing so you know what to fix and why.
Get a Free Quote